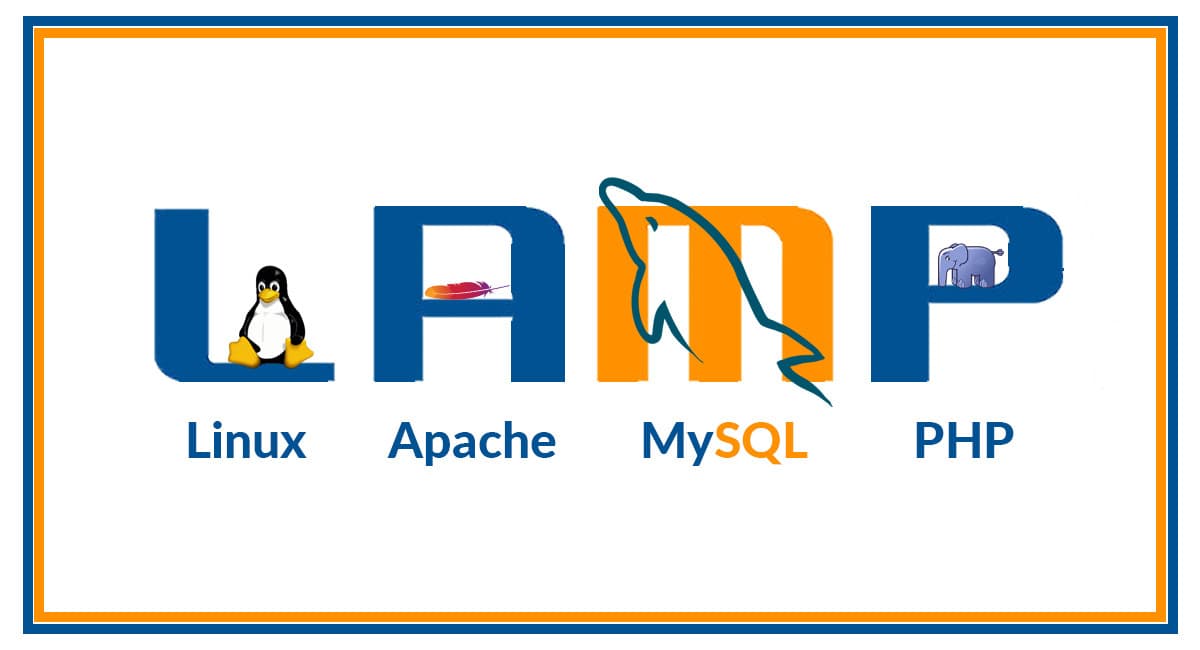
LAMP Stack
Software Engineer | Technical Writer
Bread and butter from React and Rails, but currently exploring Linux System Administration and Cloud Solutions/DevOps.
Learning everyday. Follow along with my series on creating Chrome Extensions, Desktop Apps (soon), and PWAs.
LAMP (Linux Apache MySQL PHP, Perl, or Python) is a web stack with the following open-source technologies:
Linux: Operating System
Apache: Web Server
MariaDB or MySQL: Relational Database Management System
PHP, Python, or Perl: Programming Language. Commonly PHP as 80% of the web is written in it.
Prerequisite: Access to Linux Ubuntu through Vagrant, VirtualBox, UTM, etc, or spinning up a cloud instance on a service like AWS EC2. This project makes use of the ubuntu LTS version (Jammy Jellifyfish 22.04) on the free tier AWS provides.
STEP 1: Install Apache
Apache HTTP Server is the most widely used web server software. Developed and maintained by Apache Software Foundation, t runs on 67% of all web servers in the world. It is fast, reliable, and secure. It can be highly customized to meet the needs of many different environments by using extensions and modules.
sudo apt update
sudo apt install -y apache2
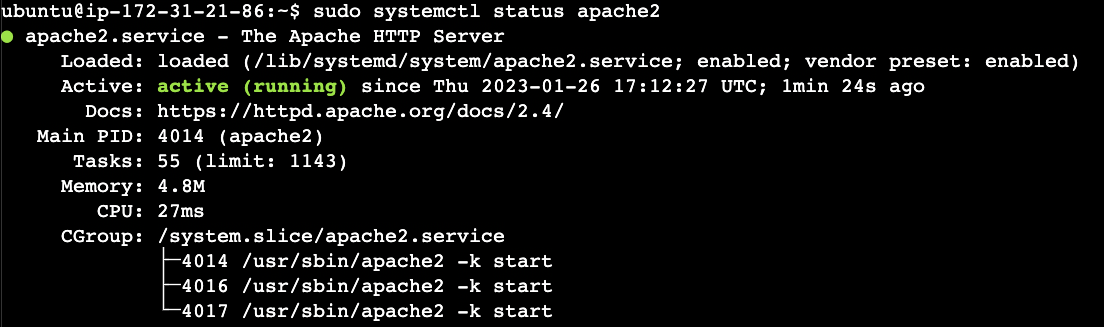
sudo systemctl start apache2
sudo systemctl status apache2
A running status should be displayed in the console:
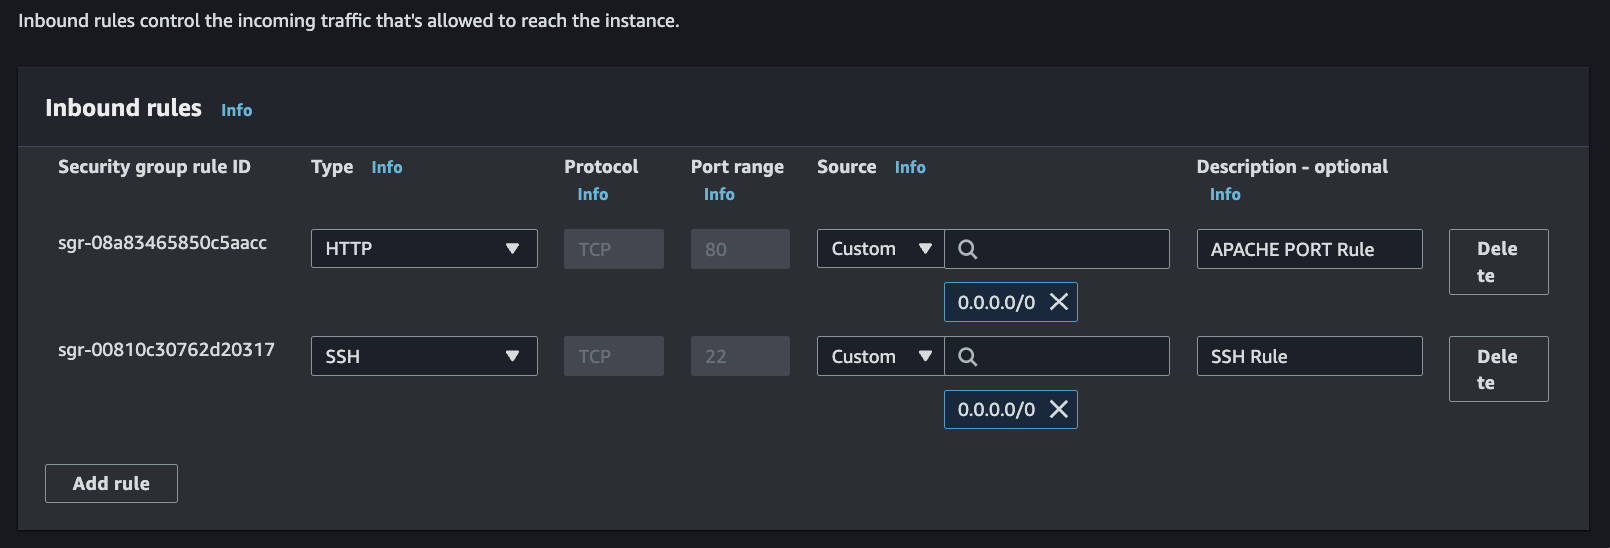
Apache web server is instructed to listen and bind on port 80.0 for incoming connections, therefore we need to add this port to our instance's security group's inbound rules:
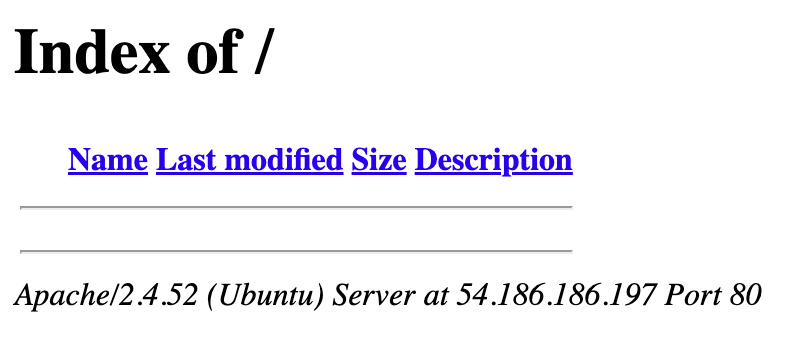
With our instance being able to access port 80 now, we should be able to view the official Apache page on our public IP URL http://<Public-IP-Address>:80 , with mine for this writeup being http://54.186.186.197:80 . The port number appended at the end (:80) is negligible as most browsers default to port 80.
STEP 2: Setup MYSQL
Next, we set up and configure our DBMS of choice, MYSQL, to store and manage data for the app.
sudo apt install -y mysql-server
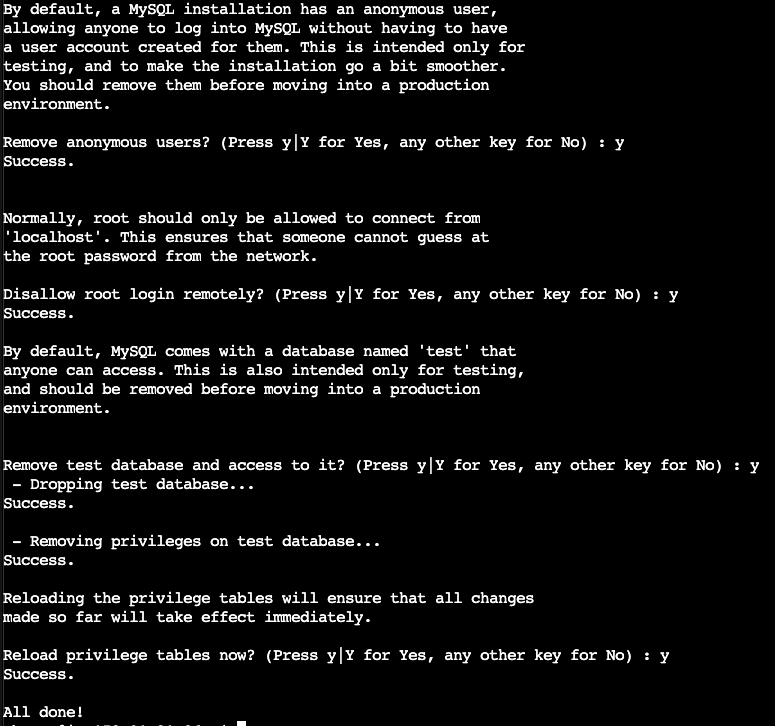
After installation, it's recommended to purge some insecure default settings and lock down access to the database system. The first thing we should do is set a password for the root password (using mysql_native_password as our default authentication method**)** as by default it has none - a huge security risk.

Now we can finish the configuration using the mysql_secure_installation script. We will be given a chance to update our password based on a VALIDATE PASSWORD PLUGIN to ensure some level of security for all database credentials. I will opt for the MEDIUM level (1) but for a production project I advise the STRONG (2) one.
sudo mysql_secure_installation

The last step is doing a cleanup and resets of the default users, databases, privileges, etc that MySQL has baked in.
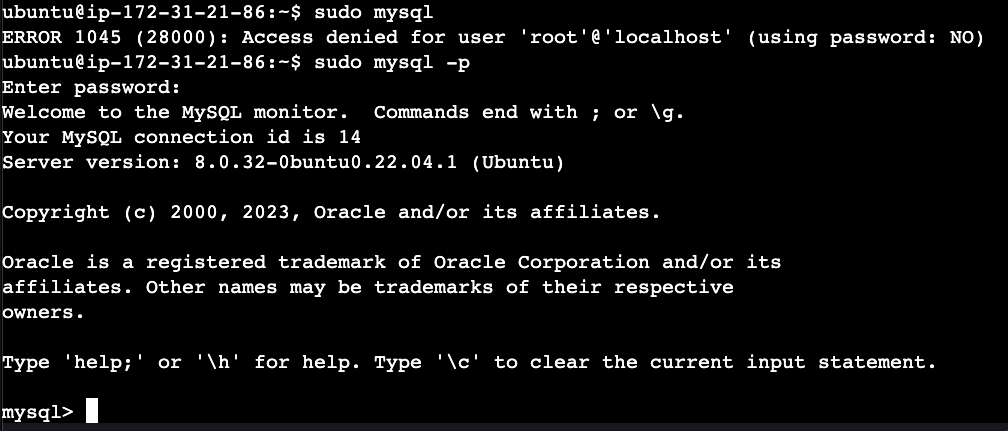
Finally, let's test that we as root require a password to access the MySQL console:
STEP 3: Setup PHP
PHP is the component of our setup that will process code to display dynamic content to the end user. In addition to the php package, you’ll need php-mysql, a PHP module that allows PHP to communicate with MySQL-based databases. You’ll also need libapache2-mod-php to enable Apache to handle PHP files. Core PHP packages will automatically be installed as dependencies.
sudo apt install -y php libapache2-mod-php php-mysql
php -v

STEP 4: Setup Virtual Host
The term Virtual Host refers to the practice of running more than one website (such as
company1.example.comandcompany2.example.com) on a single machine.
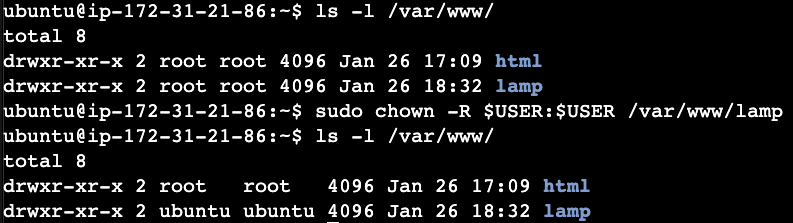
Our domain will be called lamp and it will live in the same directory where Apache expects it - in the /var/www/ folder. Additionally, we change the ownership from root to current $USER (in my case ubuntu):
sudo mkdir /var/www/lamp
sudo chown -R $USER:$USER /var/www/lamp
We now create the Apache Virtual Host configuration file for our project. This config allows Apache to serve the project on the root directory.
sudo vi /etc/apache2/sites-available/lamp.conf
<VirtualHost *:80>
    ServerName lamp
    ServerAlias www.lamp
    ServerAdmin webmaster@localhost
    DocumentRoot /var/www/lamp
    ErrorLog ${APACHE_LOG_DIR}/error.log
    CustomLog ${APACHE_LOG_DIR}/access.log combined
</VirtualHost>
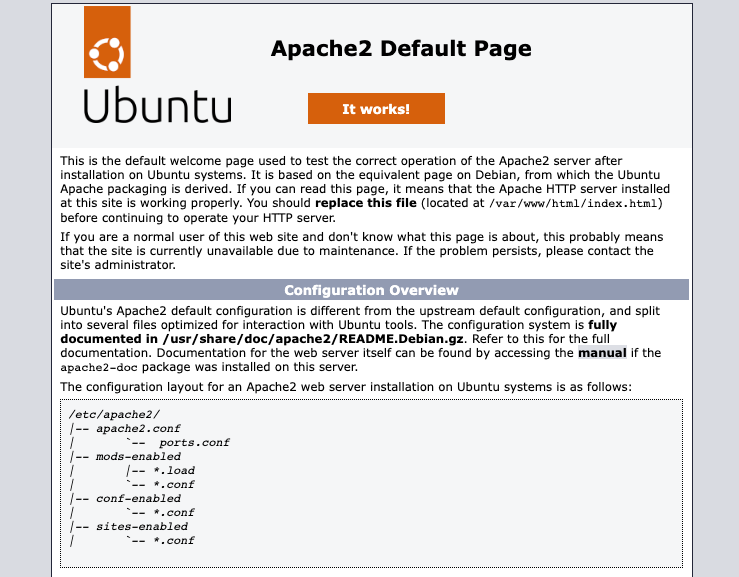
We now enable our new virtual host, disable the default Apache page (image included in Step 2), verify that our config has no syntax issues, and then reload Apache with our new changes:
sudo a2ensite lamp
sudo a2dissite 000-default
sudo apache2ctl configtest
sudo systemctl reload apache2
Our page now (http://54.186.186.197 should like below as the Apache page is disabled and ours now (which is empty) is the default:
We need to include our own index.html or index.php file to be rendered on our site:
sudo echo 'Hello LAMP from hostname' $(curl -s http://169.254.169.254/latest/meta-data/public-hostname) 'with public IP' $(curl -s http://169.254.169.254/latest/meta-data/public-ipv4) > /var/www/lamp/index.html
Note: curl -s http://169.254.169.254/latest/meta-data/* will return info about the current instance such as its hostname and public IP, if not readily known.

Fine as the landing page is, to ascertain that php is correctly defined and configured on our server, we can replace the index.html with an index.php file:
sudo rm /var/www/lamp/index.html
echo '<?php phpinfo();' > /var/www/lamp/index.php
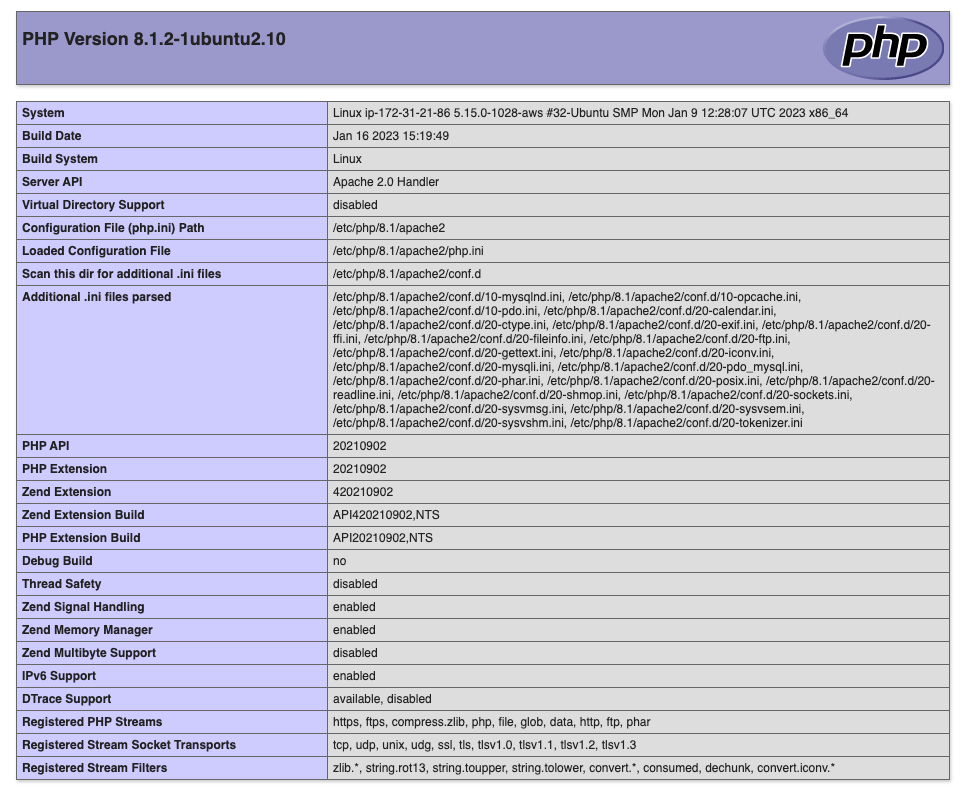
Our page should now display the above info page about our PHP version and details regarding our configuration, headers, etc.
Learning Outcomes
Launch & Connect to EC2 instance
Install Apache, Acess port 80 using security group, setup virtual hosts
Install MySQL, harden security configurations/defaults
Install PHP and connect with the Apache server