


LEMP refers to a collection of open-source software that is commonly used together to serve web applications. The term LEMP is an acronym that represents the configuration of a Linux operating system with an Nginx (pronounced engine-x, hence the E in the acronym) web server, with site data stored in a MySQL database and dynamic content processed by PHP.
The LEMP stack represents one way to configure a web server and is used in many highly-scaleable applications across the web.
The setup for a LEMP vs LAMP stack is quite similar as they share the same technologies other than the web server. We will make use of ubuntu for this project as well on an ec2 instance.
STEP 1: Install Nginx
sudo apt update -y
sudo apt install -y nginx
sudo systemctl status nginx
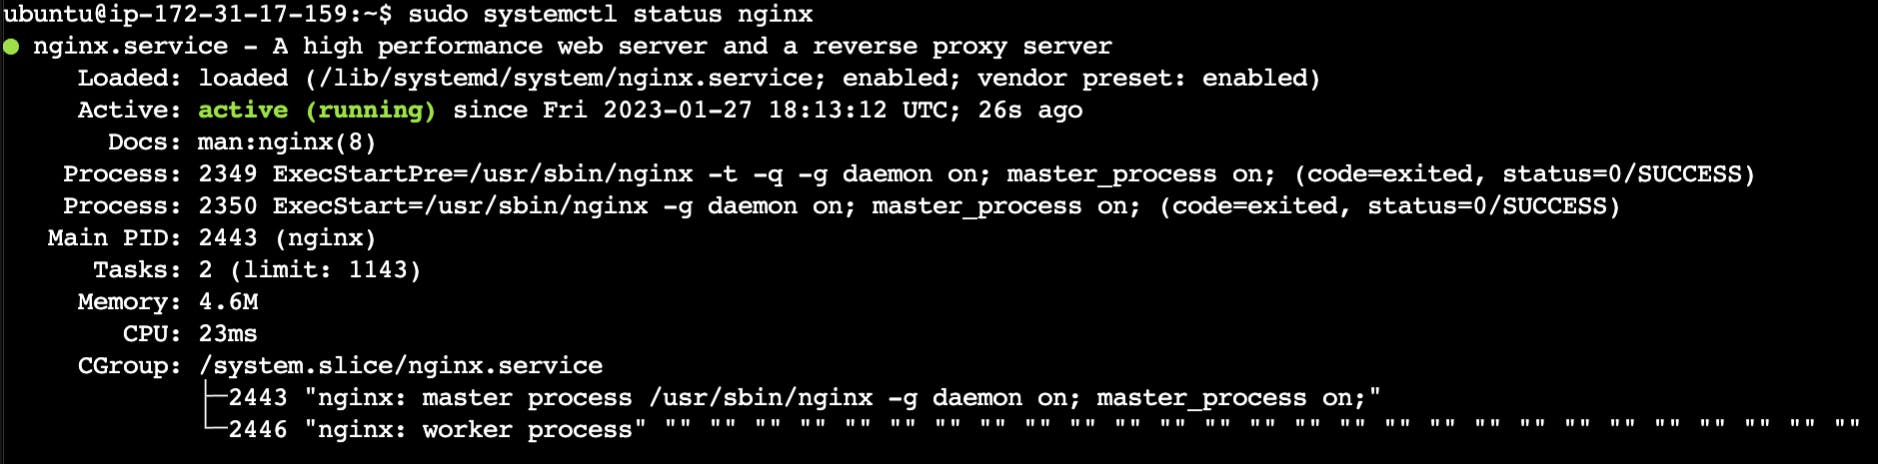
We need to have port 80 open for our instance just like in Project 1. It's wise to have different security groups depending on what port access your technologies require. For web access, I have the default security group (SG) limited to just port 22 (for ssh access) and 80 for web server access. For projects requiring additional rules, I will clone the default SG and append the new rules.

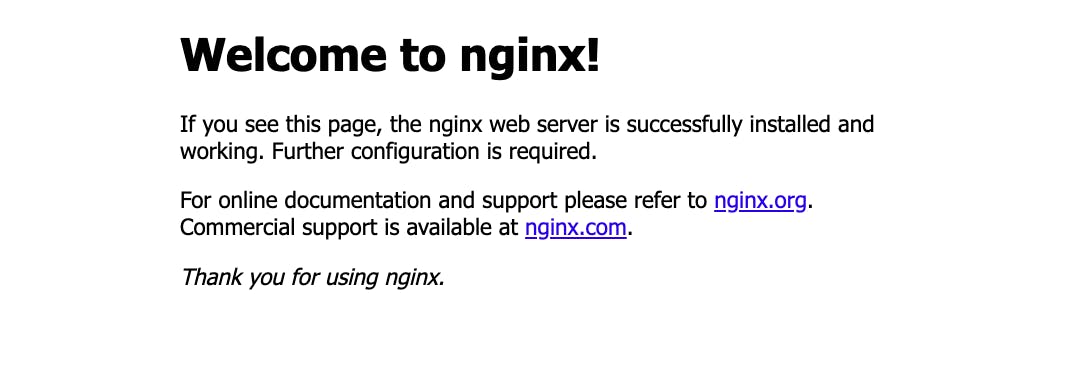
Our server is now accessible on port 80 using our public IP Address (ex. http://35.93.24.167.
STEP 2: Setup MySQL
Setting MySQL for LEMP is identical to LAMP so I have just copied the steps from the last project into a gist and embedded it below.
STEP 3: Install PHP
Nginx requires an external program to handle PHP processing and act as a bridge between the PHP interpreter itself and the web server. We need php-fpm (“PHP fastCGI process manager”) which tells Nginx to pass PHP requests to itself for processing. Additionally, we will need php-mysql, a PHP module that allows PHP to communicate with MySQL-based databases.
sudo apt install -y php-fpm php-mysql
STEP 4: Configure Nginx to use PHP-FPM
Nginx has something similar to Apache's virtual hosts called server blocks. They both encapsulate configuration details and allow hosting multiple domains on a single server.
Let's create a domain for this project and transfer its ownership from root to the USER.
sudo mkdir /var/www/lemp
sudo chown -R $USER:$USER /var/www/lemp
Configuration
#/etc/nginx/sites-available/lemp

server {
    listen 80;
    server_name lemp www.lemp;
    root /var/www/lemp;

    index index.html index.htm index.php;

    location / {
        try_files $uri $uri/ =404;
    }

    location ~ \.php$ {
        include snippets/fastcgi-php.conf;
        fastcgi_pass unix:/var/run/php/php8.1-fpm.sock;
     }

    location ~ /\.ht {
        deny all;
    }

}
| Config Keyword | Purpose |
listen | sets port Nginx will listen on |
root | document root where the files served by this website are stored |
index | Order in which nginx will prioritize index files. |
server_name | domain names and/or IP address this server block should respond |
location / | checks for the existence of files or directories matching a URI request. If Nginx cannot find the appropriate resource, it will return a 404 error |
location ~ \.php$ | handles PHP processing by pointing Nginx to the fastcgi-php.conf configuration file and the php8.1-fpm.sock file, which declares what socket is associated with php-fpm |
location ~ /\.ht | deals .htaccess files, which Nginx does not process. |
After setting the configuration above, we need to let Nginx be aware of it, verify it has no syntax errors, unlink the default site (with the Nginx landing page pictured above), and reload the Nginx:
sudo ln -s /etc/nginx/sites-available/lemp /etc/nginx/sites-enabled/
sudo nginx -t
sudo unlink /etc/nginx/sites-enabled/default
sudo systemctl reload nginx
Our site is currently empty as it's bereft of any files - *.html or *.php , and will thus show a 403 message. Let's rectify this by adding a simple index.html file:
sudo echo 'Hello LEMP from hostname' $(curl -s http://169.254.169.254/latest/meta-data/public-hostname) 'with public IP' $(curl -s http://169.254.169.254/latest/meta-data/public-ipv4) > /var/www/lemp/index.html

Step 5: Testing PHP with Nginx
Let's verify that our nginx + php integration (using php-fpm) can process .php files.
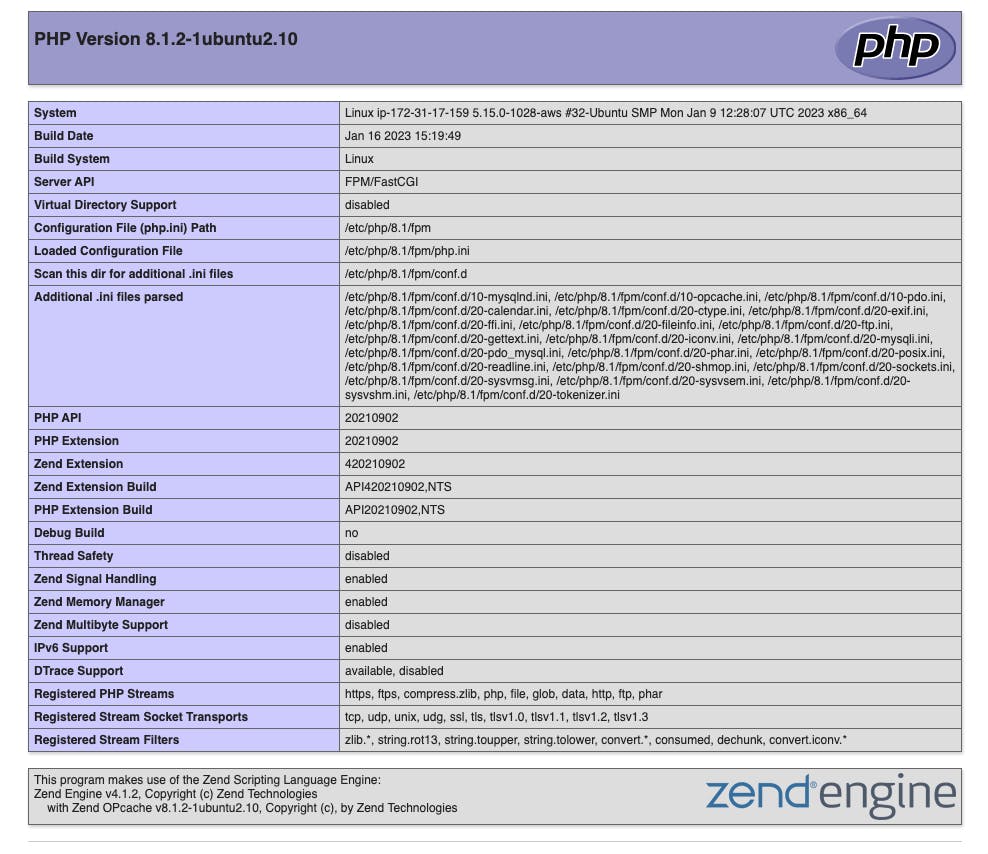
sudo echo '<?php phpinfo();' > /var/www/lemp/info.php
We should see the following PHP info page on the http:35.93.24.167/info.php URL:
Step 6: Retrieve Data from MySQL DB with PHP
For a final integration, let's create a todolist database, configure access to it and have Nginx query our database and display it.
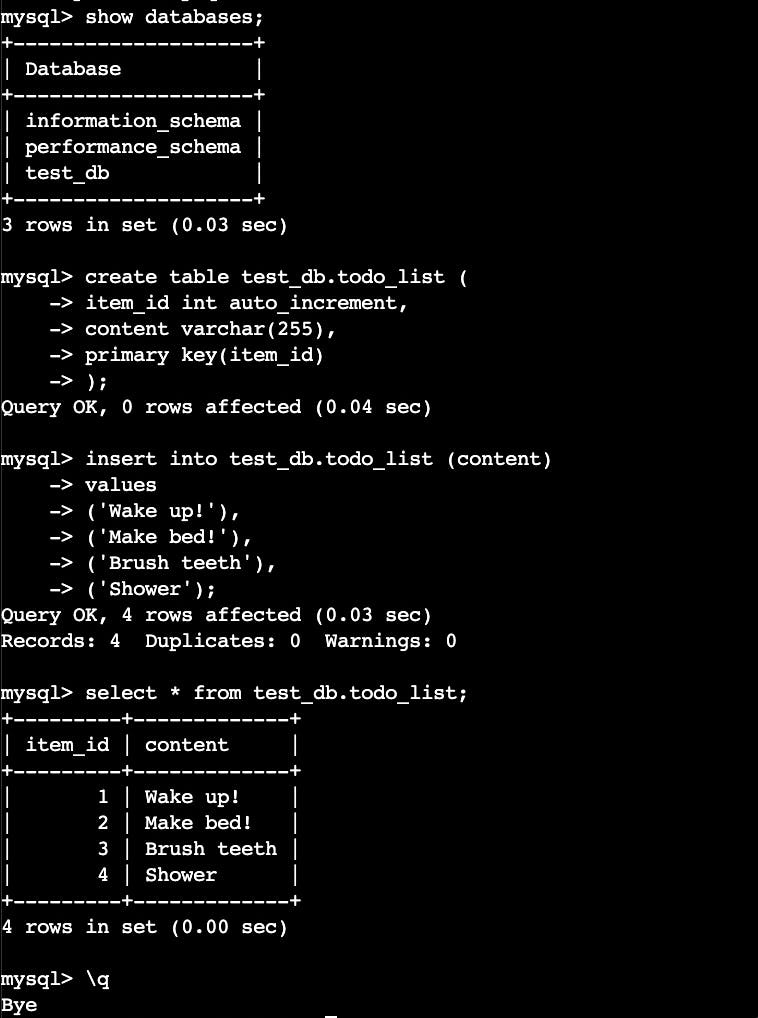
In the MySQL console, we'll create a database and an admin user with all privileges to the new database. This user will now be able to create a table in the database and insert data into it.

What's the use of a database without any data? Let's populate it with some sample todo list items:
Display Todo
To display our data from our todo_list we need access our test_dbdatabase, query our todo_list table, and finally create an HTML skeleton to display the data in a list:
# /var/www/lemp/todo_list.php

<?php
$user = "admin";
$password = "Super01!";
$database = "test_db";
$table = "todo_list";

try {
  $db = new PDO("mysql:host=localhost;dbname=$database", $user, $password);
  echo "<h2>TODO</h2><ol>";
  foreach($db->query("SELECT content FROM $table") as $row) {
    echo "<li>" . $row['content'] . "</li>";
  }
  echo "</ol>";
} catch (PDOException $e) {
    print "Error!: " . $e->getMessage() . "<br/>";
    die();
}
Visiting http://35.93.24.167/todo_list.php , should display our todo list:

Learning Outcomes
Set up Nginx Server & connect with PHP.
Use PHP to connect to MySQL database, query a table, and display data.